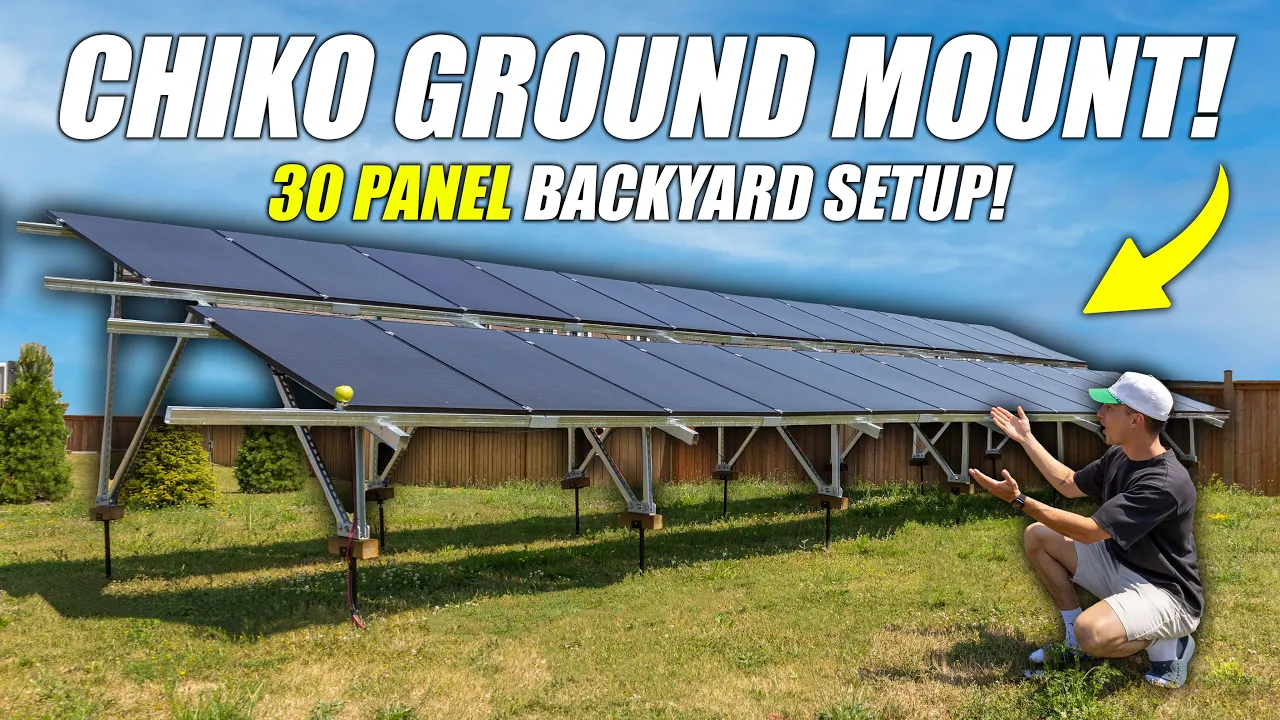
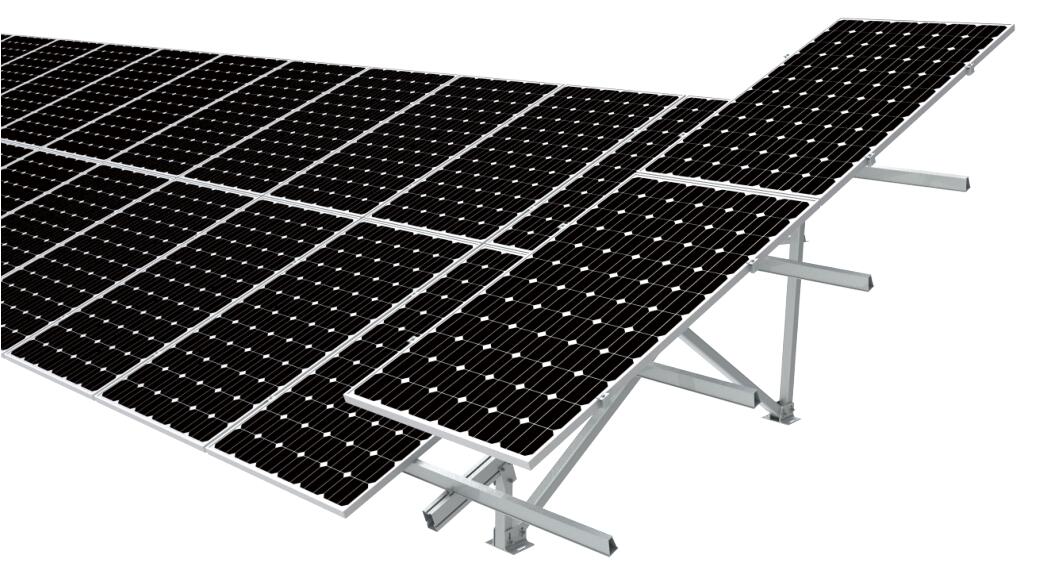
The Chiko GroundFlex U2V is a commercial-grade solar ground mount kit that's now available through Signature Solar. It’s built from heavy-duty galvanized steel, rated for up to 130 mph winds and 60 lb/ft² snow loads. It’s also available in 10-panel) and 30-panel configurations.
We got our hands on the 10 solar panel version and set it up in our backyard. Not only was this the starting point for a small-scale off-grid solar farm here at The Solar Lab, we’ll be able to use this huge solar panel mount as a dedicated solar panel testbed.
But for right now, we’re also going to walk you through the real-world installation process for a solar panel mount this big, cover how it's performing, and also highlight a few of the hardware headaches we ran into. So, let’s find out whether or not this ground mounted solar racking system deserves a place in your backyard.
Before we dive into the installation process, as well as all of things we liked and disliked about this huge backyard solar mount, let’s take a quick look at the specs:
{{review-summary}}
We received the kit on a truck without a forklift or pallet jack, so unloading required several people. Luckily, the full Solar Lab team was available when it arrived, so it actually went pretty smoothly given how big of a headache that unloading process could have been.
Once we got everything unloaded off the truck, we decided that we were going to install the Chiko GroundFlex near the back of our yard. Not only would this allow us to position the mounted solar panels for optimal sun exposure, this solar panel rack is huge, so putting it there would keep more of the backyard space free and usable.
From there, we laid out footings, used screw-in piles to allow us to move it in the future (rather than concrete), and mounted ten Sirius 415W Bifacial Solar Panels (some of our favorite solar panels right now).
The racking uses standard solar panel clips, and once the basic frame was in place, mounting the panels turned out to be the easiest step of the entire process.
Note On Solar Panel Capacity:
The solar mounting kit we received could support a variety of different solar panel layouts. We mounted ten 415W panels (total of about 4.15kW of PV output), but the kit itself can support larger arrays. We actually could have fit two more of these solar panels, but we decided not to as it was encroaching into our neighbor’s yard.
We also could have gone with larger, higher wattage panels, but we previously ordered a crate of those Sirius Solar Panels from Signature Solar, so we wanted to get those mounted as soon as possible.
Let's take a quick look at what slowed us down, as well as what we think you should plan for:
Keep in mind that this kit is heavy, like really heavy. We also just ordered the 10 solar panel kit, so if you plan on ordering the 30-panel kit or multiple 10-panel kits, you’ll want to make sure that the shipping company has arranged forklift delivery. Failing that, you’ll want to get a group of people together and provide plenty of pizza and beer—this is definitely not a one-person job.
At this point, it’s also worth pointing out that the delivery issues were purely the fault of FedEx, so it’s unlikely you’ll have to go through the same unloading process that we did.
The kit we ordered included trident-style ground piles, but we chose screw-in footings so the mount can be easily moved in the future. If we ever outgrow the current location of The Lab, those screw-in piles are going to be a lot easier to pull out of the ground than digging up a more permanent concrete setup.
We also found the trident brackets they included were difficult to work with. The biggest issue was how thick the galvanization was inside of the brackets. It made it really difficult to actually slide the poles inside of the brackets. Instead, we just screwed the poles into pieces of 2x4 lumber, which we then attached to the ground screws.
Probably the most frustrating part of the entire experience was how vague and confusing the instruction manual was. The diagrams provide ranges and options, but the parts weren’t labeled.
Several components looked identical but had slightly different hole patterns, so we had to repeatedly flip pieces and mark them ourselves with a Sharpie. Simply labeling the parts and the included hardware would have saved us hours over the course of the entire build.
When you’re talking about something this big that was designed primarily for DIY homeowners, rather than professional solar panel installers, it seems really short-sighted not to take the time to ensure that the instructions are clear and beginner-friendly.
Not only was the instruction manual confusing, the included hardware was missing a few pieces. The instructions also failed to specify which bolts go where, so we had to play around with a bit of trial and error to get it right.
We even had to make a few trips to the hardware store to source some extra nuts and bolts. Again, for backyard solar panel mount of this scale, this type of sloppiness is really frustrating. Everything was easy to source, but we should not have to go out and buy missing components, even if they are cheap and readily available.
We touched on it before, but some of the supplied ground piles had a very thick galvanizing dip that made sliding the pieces together really difficult. Even if we were able to attach them, the galvanization was so thick that you could barely twist the poles, making it really difficult to align the pre-drilled holes.
We get that the extra thick coating is designed to protect the solar panel mount from corrosion, as well as strengthen it, but it made the install harder than it needed to be.
ChikoUSA claims that this all-galvanized design actually gives the entire mount a service life of over 30 years, but we think they could have been more careful applying that extra coating. Even if they just cleaned it up a bit, all of that annoying hammering wouldn’t have been necessary and the assembly time would have been reduced.
It sounds like we’re just complaining nonstop about this thing, but we want to be as transparent as possible about some of the issues we ran into.
Once we sorted those issues and had all of the hardware required, the actual build moved quickly. Thanks to the pre-drilled legs, we were able to partially assemble the sub-frames before mounting them on the ground screws. This saved a lot of time, especially once we got into a rhythm.
While unloading the components off the truck and transporting them to the backyard required the full team, it was relatively easy to actually build the entire Chiko GroundFlex U2V Mount with just two people.
If you want to see how the actual installation process played out, make sure you check out our video review: Chiko GroundFlex Kit Install & Review.
Now that we’ve covered the basics of the install, let’s take a look at the main things we liked about this solar panel ground mount system:
This isn’t a lightweight hobby solar rack. All of the materials are heavy galvanized steel and, once installed, this thing feels like it belongs in a commercial solar farm. It’s incredibly rigid, with no wobble and only enough flex to help it handle high winds. Tiny Baby literally hangs off this thing and does pull-ups on the frame.
It just feels incredibly secure, especially compared to some of the other solar panel mounts we have tested, which all seem to flex and sag when they’re loaded with solar panels.
Chiko USA ships big pieces of this partially pre-assembled, which dramatically reduces on-site work once you understand how everything connects together. Don’t get us wrong, this is a big job, and you’ll want a few people to help things go smoothly, but it’s a lot easier to install than it could have been.
This solar panel ground mount kit is really easy to expand in blocks. You could buy another and add another 10 or 30 panels later, reposition the footings for different yard footprints, or chain kits together for a larger solar array.
That modularity is great for DIYers who want to grow their off-grid or grid-tied solar system over time. With other solar mounts that sit closer to the ground, you would have to space them apart a lot more to get decent sun exposure on your panels.
Unlike some solar panel racking systems where you run out of T-brackets or panel clamps, Chiko supplied a generous number and variety of clips, which would be enough to accept a wide range of solar panel sizes.
Whether you go with small 100 Watt panels or larger high wattage solar panels, you get everything you need to easily secure them to the mount. It’s a nice touch, especially given they were a little sloppy when it came to including the correct number of bolts.
The high wind and snow ratings are reassuring if you live in a stormy or snowy area. Again, you’re not buying a flimsy backyard stand.
We get a lot of snow in the winter, so that really high snow rating actually played an important role when we were choosing a large solar mount for the backyard. After seeing just how solid and sturdy it is, we have no doubts that this thing can handle harsh environments and plenty of abuse.
All the mounts and wiring face the same side, so you can park the array against a fence or wall and still access everything. Over the long-term, this would be handy for maintenance and switching out solar panels. For us, it’s going to make future solar panel testing much easier.
We already touched on a few of the issues we ran into when installing this ground mount system, but let’s take a look at the main downsides:
As mentioned, the instruction manual was the single biggest pain point of this entire build. This is a big piece of equipment that can feel like an intimidating build to beginners, so they really should have taken the time to make sure the instructions were accurate and easy to follow.
We also ran into a few issues with missing hole patterns, unlabeled bolts, and ambiguous diagrams. In the end, all of these avoidable issues cost us hours of our time and even a few extra trips to the hardware store.
A few of the ground pile parts had a galvanized coating that was too thick, making attaching the brackets a difficult process. Chiko should do a better job of quality controlling these or chamfer the holes after galvanization to avoid this problem.
In the end, the over-galvanized parts were such an annoying issue that we didn’t even use the included three-cylinder trident mounts. Instead, we just went with some ground screws and blocks of wood.
For a big solar panel array, having to buy the grounding spike separately is a small but annoying extra cost. It’d be nice to see it included, but it’s something extra that you have to add to your cart when you buy it.
Next to the poor instructions, the hardware issues was the next biggest issue. Some bolts weren’t the best fit, none of them had labels, and we even had to pick up a few generic components from the store because they weren’t included in the box.
We’d recommend bringing a well-stocked box of fasteners and washers before you begin.
This is a premium solar panel ground mount. If you’re building on a strict budget, you could buy multiple cheaper racks (like the EG4 BrightMount or dirt-cheap PowerField Power Rack) for much less money.
Keep in mind that you’d lose durability, height, and the commercial feel if you went with these cheaper options. Still, it would be nice if this Chiko solar panel mounting system was slightly cheaper, but at least you know you're paying for quality and durability.
It's not really a criticism, but this really shines as a long-term, semi-permanent installation, rather than a quick weekend project. Unless you’re planning on building out a fairly substantial solar panel system, this mount is going to be a bit too large and heavy-duty for your needs.
Before you potentially spend thousands of dollars on a high-strength solar panel mount, you really do need to consider your needs. With that said, given the quality of this thing, we’d recommend the ChikoUSA GroundFlex to anyone who fits the following:
If you want something cheap and temporary (low height, tiny footprint), the GroundFlex may be overkill. But if you’re building a backyard system that you want to keep in place for years, this is the right class of product.
The Chiko GroundFlex U2V is a commercial-grade ground mount solar racking system that delivers on durability, modularity, and long-term performance.
If you can accept some ambiguous instructions and have some help for the assembly process, you’ll end up with a very solid, expandable solar array platform that will probably outlast many other DIY racks. It may seem expensive, but the overall quality is very impressive.
Again, it’s not ideal for weekend DIYers who want a zero-hassle, pop-up solution, but it’s a really high-quality solar panel mounting kit and we think it’s going to have a long lifespan here at The Solar Lab.
We test solar products so you don’t have to. Check out our opinions and which units we think are worth your money and which ones aren't.
More Reviews >